We are photographers, we photograph a lot. That is our job, and it can lead to problems if you do not properly take care of yourself. Even if you are just a photographer that shoots occasionally, you can build up wrist problems/issues/pain. Let’s call it, photographer wrist? Is that a thing… let’s make it one. My goal is to help educate you so that you can take steps to prevent this photographer wrist.
Too often people wait for something to go wrong, then address it- and it can really be detrimental to your job and more importantly to your everyday life. If you are already injured, I have a few tips for you. But keep in mind I am not a doctor and I am going to simply share what worked for me through experience. This does not mean it would work for you, but it will hopefully give you some ideas and send you in the correct direction.
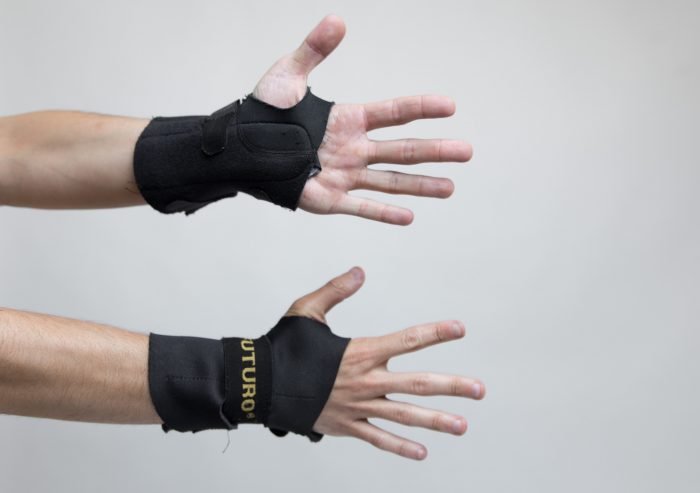
I didn’t know wrist issues were even an issue when mine began. About four years ago I was on The House Party Tour – a four band tour that I photographed everyone sound checking and hanging out during the day. Then at night for about four consecutive hours I would shoot each band’s set. It was a lot of work but I loved it. About halfway through I ended up having to put my left wrist in a brace cause it was hurting so bad, and a few days later I had to do my right one as well. I was in bad shape.
By the time I got home a few weeks later my whole left arm from the elbow down was frozen. I literally couldn’t bend my wrist more than 5 degrees in any direction and the pain was a bit much. I had no idea what to do. It just didn’t make sense to take showers a few times a day just to try and warm up my arm – this is also incorrect, don’t do this.
Through internet research I eventually found a massage master by the name of Joel in Orlando, Florida that specialized in rehabilitating clients with chronic pain. You can check him out here – https://www.orlando-massage.com/. Don’t forget the “-” or you are redirect to a not so safe for work website. I had no idea what I was in for, but it seemed like a step in the right direction.
The session was two hours long and it consisted of a lot of painful very calculated and precise work on my wrists, armpits, back, shoulders etc. He works with professional violinists, tennis players etc. I’m not kidding you… Same day results. My wrist worked again. Not entirely, but I was on my way. It was a deep breath of fresh air, I could have kissed the ground I was so grateful. It was the most painful thing I have ever done but the rewards made it all worth it. Little bit of pain now for a lot of relief later. I went to him a few more times but I don’t live in Florida so I had to find someone else to go to in back home in San Diego.
I tried Chiropractor, Acupuncture, and various stretches. They all kind of worked, they were baby steps in the right direction or a combination of them would provide temporary relief but I wasn’t progressing like I did with Florida. For a good three years I had weak wrists after that. I couldn’t really jump up ledges and hoist myself up. I did my pushups with fists and I had to be careful to not jab them. I had to be constantly aware of my wrists, and I still am.
A year ago I emailed the Florida guy. I am not sure why I waited so long, but he pointed me in the direction of who to go with and I am 100% healed now thanks to another similar professional in San Diego. If you are trying to find someone in your area, you want to look for someone who does Rolfing® Structural Integration.
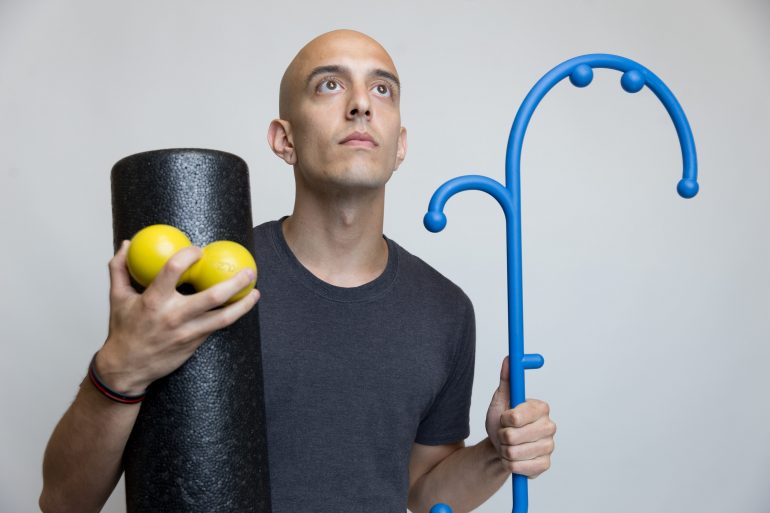
In addition to this I also workout regularly, stretch while I shoot, and also changed the way I carry my gear and such. I also have back balls and this back massager
. Also the more well known back roller
. All life changing.
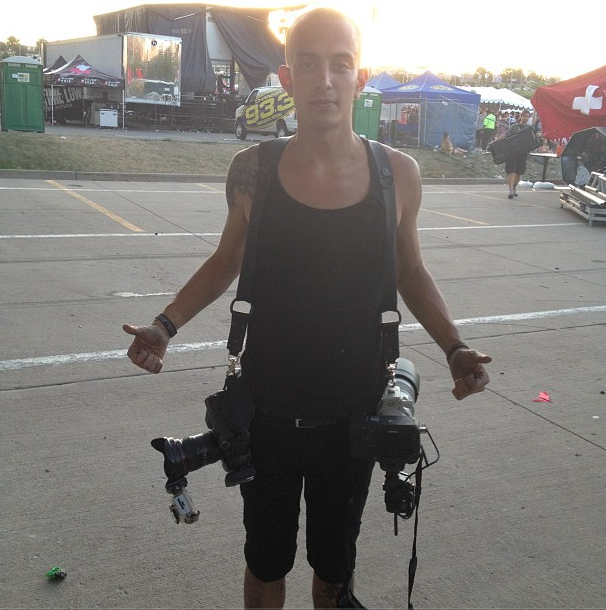
Long story short – the problems I acquired from shooting were mostly because of the harness I was wearing while I was shooting for such long hours. The harness was great, it’s a Money Maker – I absolutely love it and still use it, however I would advise against using it for long periods of time in combination with with very heavy gear. I used it to hold a Camera with a 70-200mm lens on my left side while I shot with the camera from my right. If there is one thing you take from this blog I want to to be that it is never a good idea to have heavy weight on your shoulders while they are up in shoot mode.
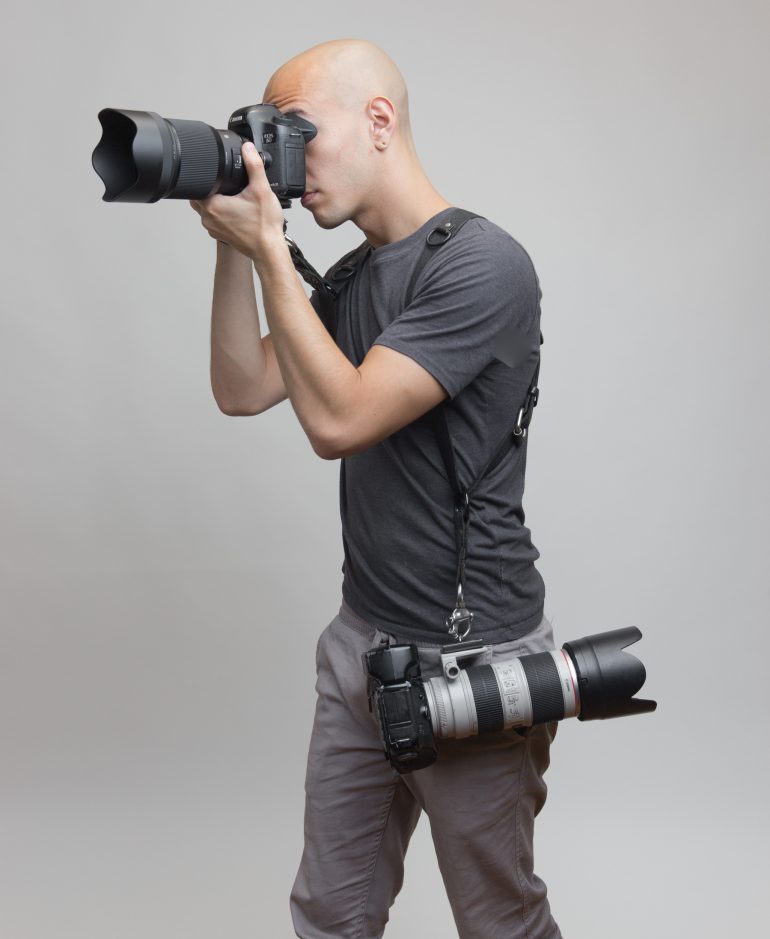
It was a lot of weight at once. Also… for four hours a night? Not a good idea. You have to make sure you use your gear correctly. Remember gear is a tool, tools have different applications. Think of shoes. You have certain shoes for running, and another type of shoes for going to a formal event. It’s the same thing. Different gear, different uses, use it wrong- you can hurt yourself. You wouldn’t go running in heels ya know. It just might not be so obvious or known at all when it comes to camera gear so you need to figure it out. Here are some things I have figured out so far:
How do you hold your camera while shooting?
Posture is important – just like when you are on your computer, back straight and such, try not to hunch over while you are shooting. Engage your core! I think strength comes into play here. You really need to make sure your upper body is toned. You don’t need to be ripped, just go to the gym a few times a week, get a strong core. It’ll help you be more stable while you shoot. Stay healthy, stay fit. The more out of shape you are the more difficult your job will be.
Every time I go to the gym I just think “this will help you become a better photographer” – and I mean it is true, it definitely isn’t going to make me worse. I want to be the best I can be, and give myself the best circumstances possible in order to push forward and grow.
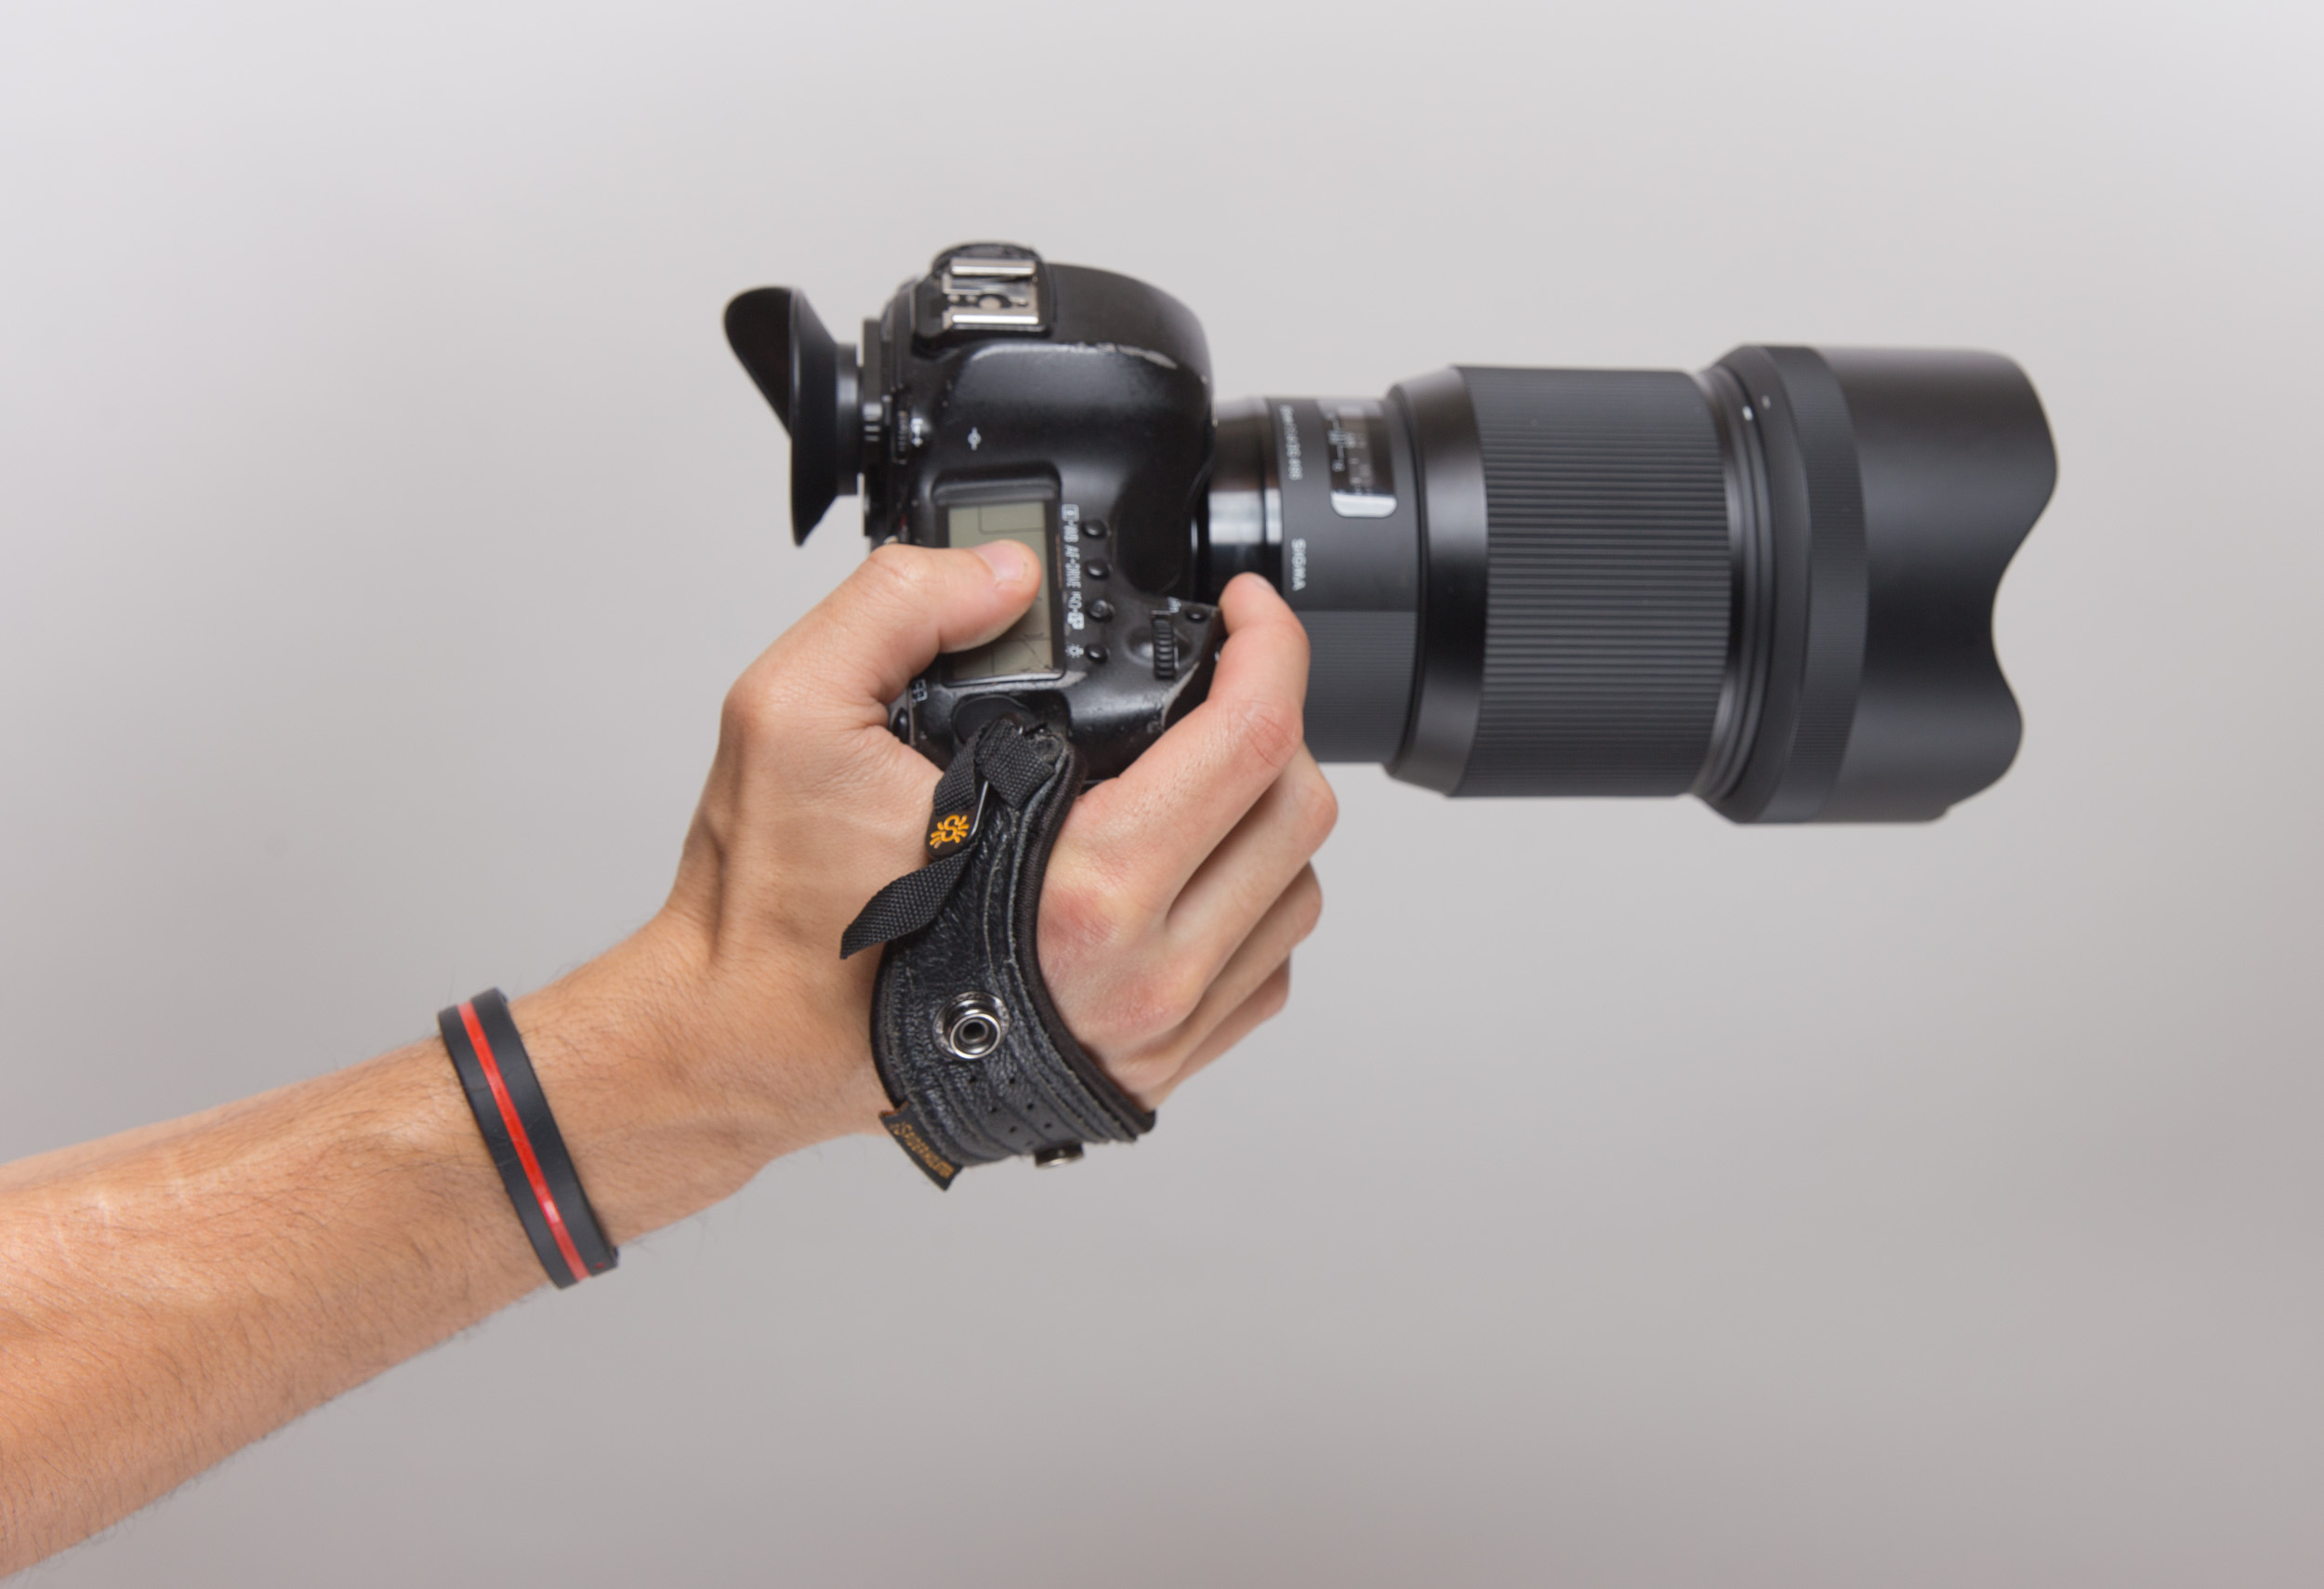
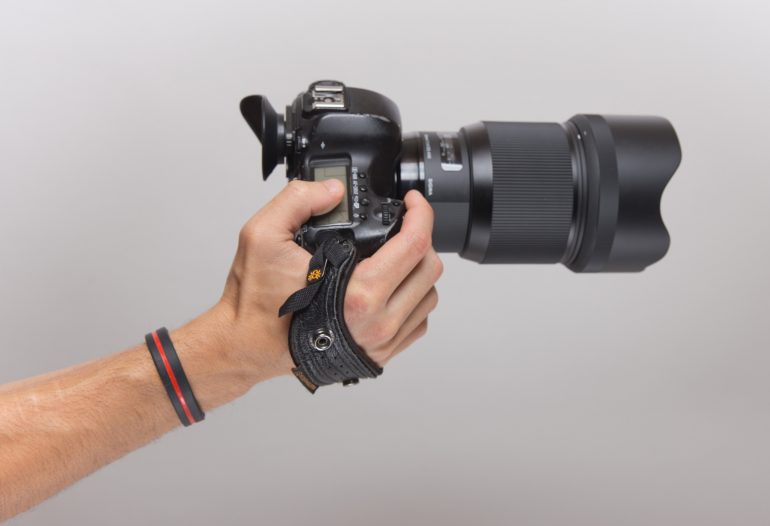
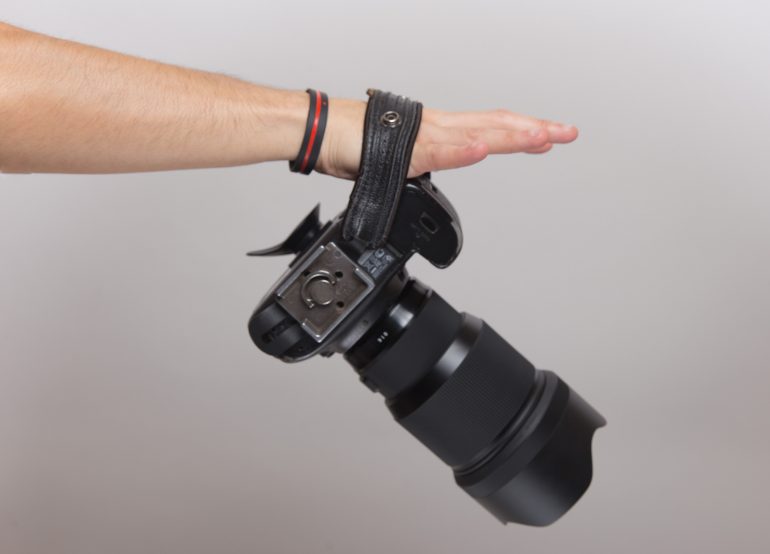
I use a Spider Holster Hand Strap for my camera, it helps to take the weight off my wrists and spread it out. So comfy as well… And you can’t drop your camera. Well I guess you could, but it would mean also dropping yourself.
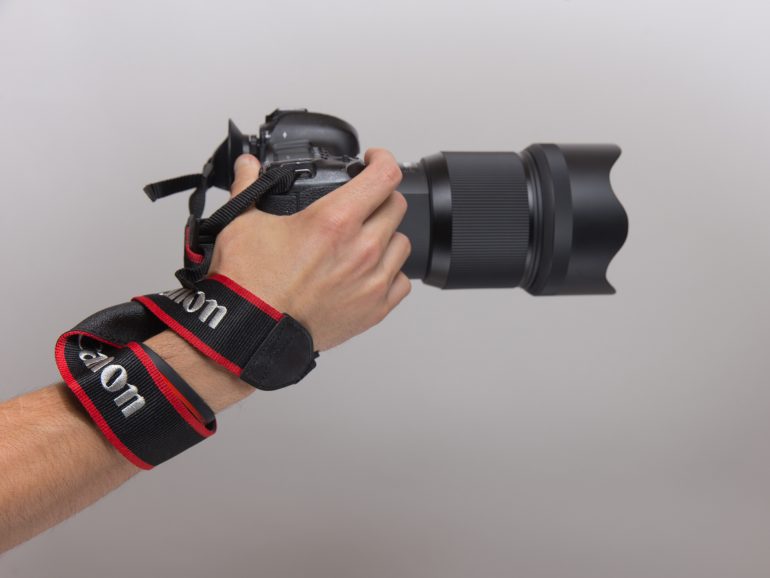
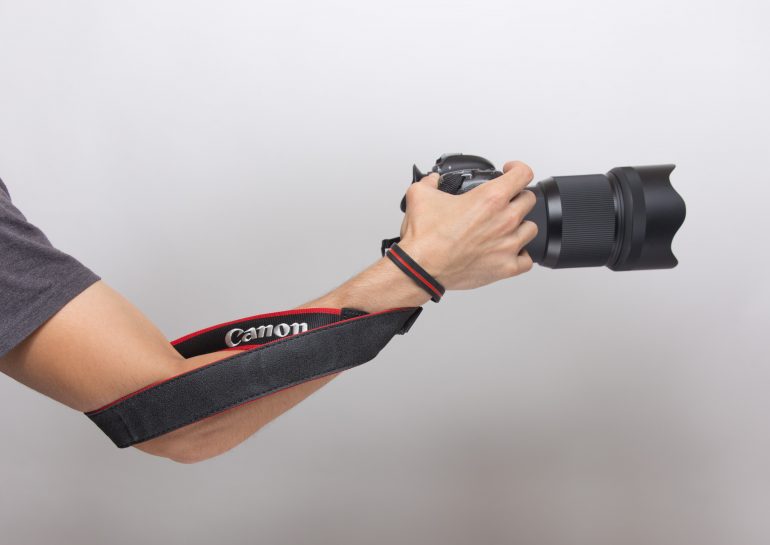
If you don’t like the above option you can also wrap your camera strap around your wrist, it comes free (not really, you pay for it) with your camera. In addition if you adjust the length just right you can kind of anchor it with your body and the tension will hold it stable
How do you carry your camera while you are in between shots on a shoot?
Money Maker is a good option, I think it works great for weddings or events you do not have to do everyday. It allows for the fast change of cameras at a seconds notice. Throw a 24-70mm on one camera and a 70-200mm on another and you have a full range at your fingertips.
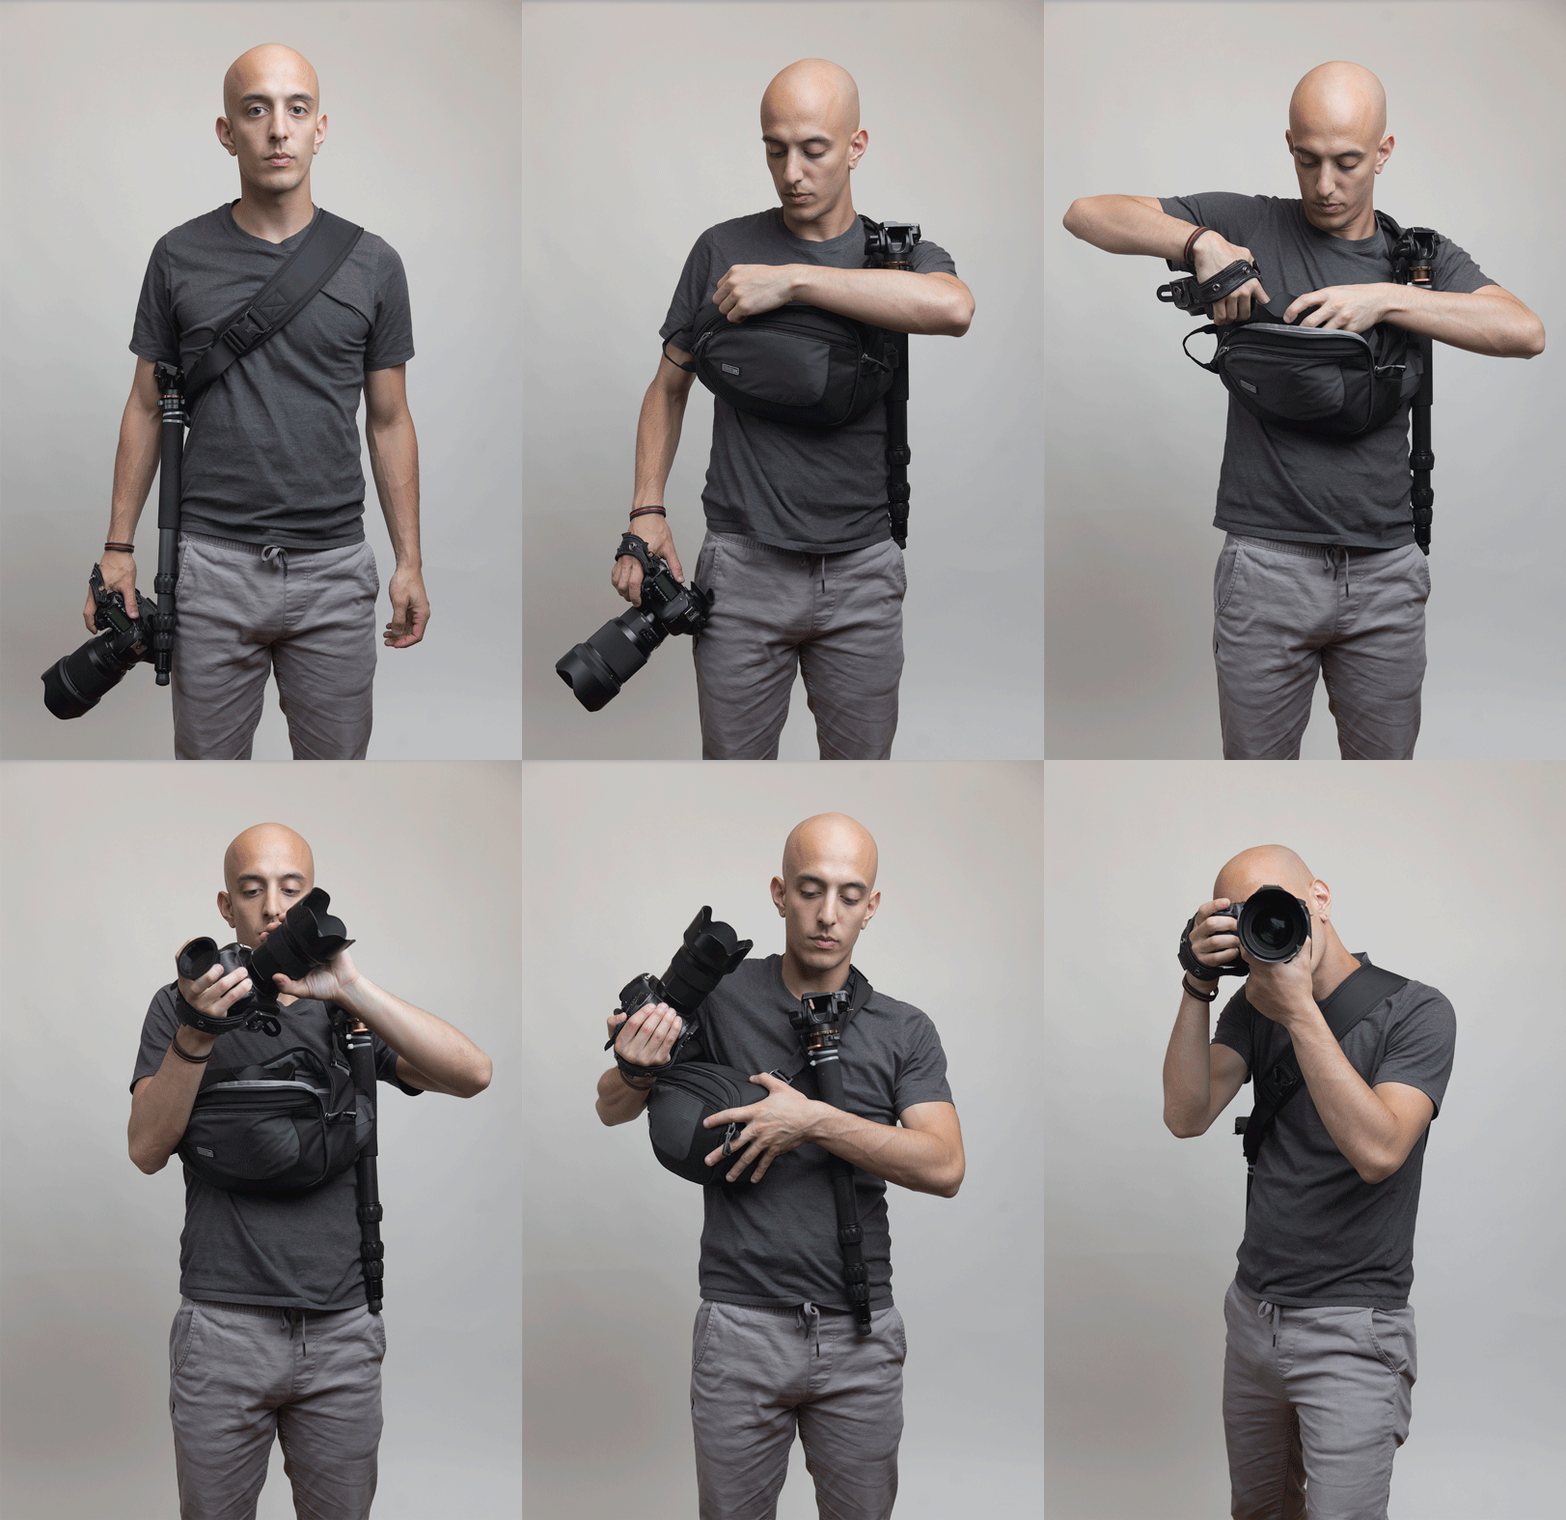
I use a camera bag now. I use the Think Tank TurnStyle series over one shoulder and diagonally around my back for when I am shooting with one extra lens. It is really easy to change gear with as well and I love this. Again not a lot of weight.
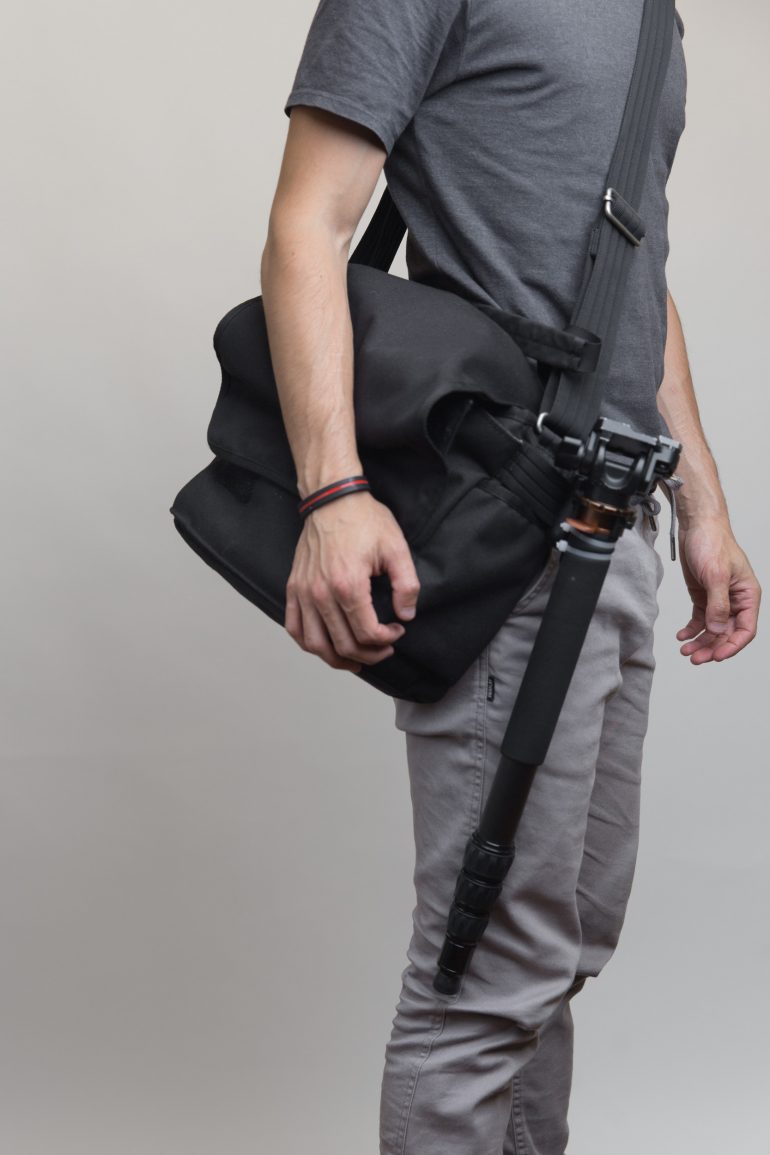
I use a camera bag that I set down while I am shooting for any situation where I will have more than one extra lens on me. I try to not hold the bag on me so that I avoid injury and stay relatively unrestricted with my movement. I have never been a big fan of being bogged down by gear. I want to move and I want to move quick. This specific bag is the Think Tank Photo Retrospective, however there are so many different kind of bags like this. I just really love Think Tank and have had the best experience with them.
How do you travel with your camera gear?
I think the biggest factor in this is – how are you traveling? By Car? Bus? Plane? Train? Jet? All of the above? For me I always bring as little as possible and want to be as mobile as I could be at any given point. But maybe you have a lot of gear, maybe you have to do artificially lit shoots on the go – I do not know your setup. However make sure that there is intention behind each piece of gear. Even too many extra batteries weigh you down. Keep that in mind when packing. Here is what I suggest.
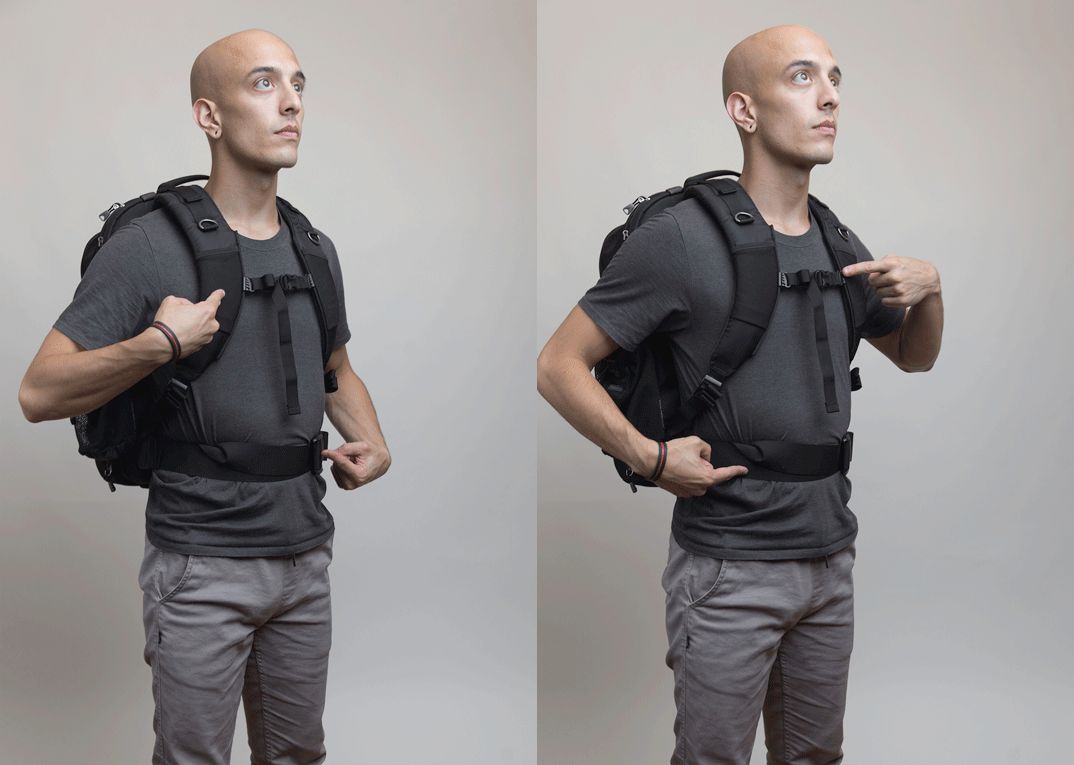
If you are going to use a backpack, get something with support. Anything that buckles up top and at bottom. I use the Think Tank Shapeshifter – I like that it can changes sizes and is very secure with compartments
If I have to bring a big more gear, I’ll bring a bag with wheels so that there isn’t to much weight on my back. However it’s important I have a home base if I take this bag, if I am constantly on the go I try to keep it off the ground. If you have more gear, get a bigger bag. I usually suggest avoid checking anything when you fly as it takes extra time when you land and the last thing you want to do is pay an airline to lose your bag. One time I had an airline break my Pelican case… I don’t even know how they did that. I didn’t think it was possible.
Anyway. That is all I got. I wish you the best and please be safe. No matter what career you are in, you have to maintain your work tools. That means taking care of yourself. Be healthy and be smart. Don’t ignore your body. Listen to it. Feed it good food also. Like vegetables and such.
Feel free to share your own knowledge, we can all learn from each other.
