Please download my image and Silver Efex Pro 2 so that you can follow along with this tutorial.
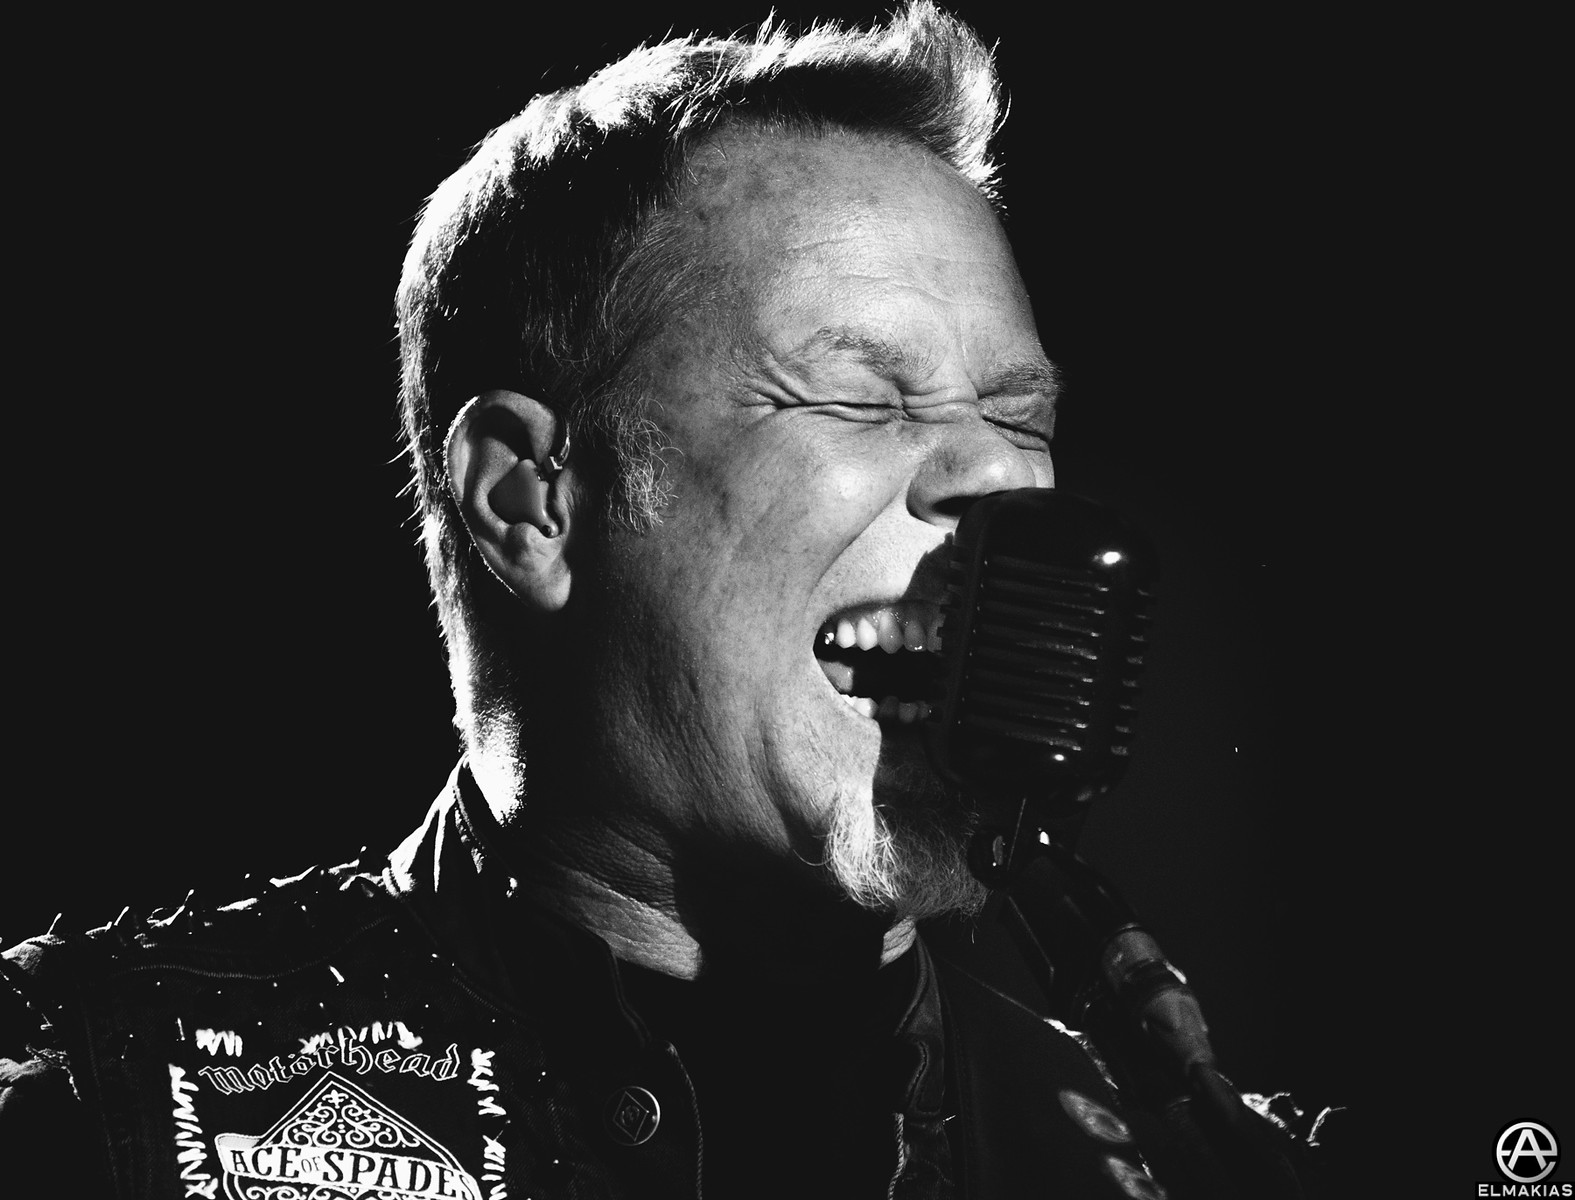
Original image: view hires
Silver Efex Pro 2 trial, click the link below.
Silver Efex Pro 2
So I started using Nik Software tools a few months ago. I am usually against filters that do a lot of work for you as I like control- but Nik does a good job of making the filters swift, easy, and controllable. I used Silver Efex Pro 2 to edit my most recent blog post, feel free to scope the final product.
I use to start my editing process by dulling down my image as follows. However with this new software I have been using the only adjustments I really need to make in RAW are crop and straighten.

This is my original RAW file, straight from camera and untouched by my human hand. (okay, that’s a lie, this has been cropped and straightened a tad, and you might need to convert it to black and white- feel free to do the same)

Open the image, duplicate the background layer.

Select your new layer and convert it to a smart object.

It’s important to do this so that we can always go back and adjust any filters that we apply to the layer. Keep stuff simple and easier on your mind.
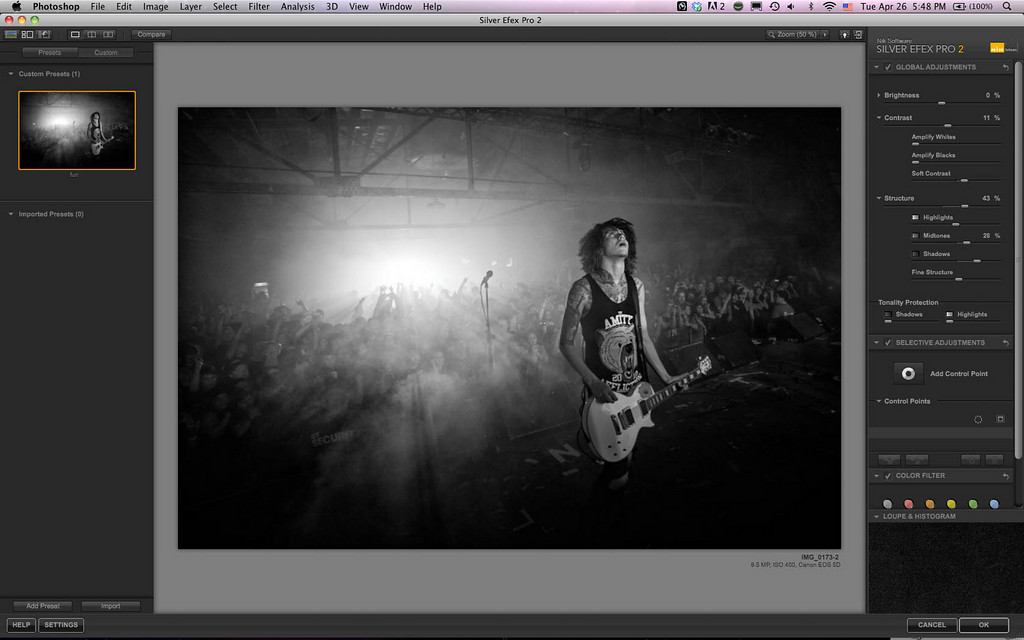
Next step is to run Silver Efex 2. Play around with your adjustments until you get something you like. You can see my settings below.

After I find something I like I save it as a preset on the left so that I can come back to it whenever I may need. Sooo yea, after you figure out what settings you like best, go ahead and save them as a preset. Make sure to name it something that makes sense in your head. I named mine “fun”, cause I think it’s a pretty fun filter.
Press okay in bottom right to apply the filter. Once this is done, right click on your Silver Efex 2 Pro effect in the layer palette. This should bring up a few options. Click the one that says “edit smart filter blending options“.

It is important you change the blend mode to luminosity. This won’t make a difference for your black and white images, but if you use this technique on a color image this step is very important.

That is actually my whole editing process- pretty simple and quick ay? I went through my ordinary editing steps and put the images next to each other. Here is a side by side with my other edit. (image we just did is on left)


I have been doing my old editing style for over a year so I have gotten pretty quick at it- but it took me months to fine tune it and get it right. A few more months to be able to do it quickly. Even with all that practice it probably took me about eight minutes total to edit this image. I used a combination of about four actions with forty steps or so in them to achieve the look on the right. In addition I had to manually adjust the image six times in-between the actions and create about eight layers total.
Here is my action list from Photoshop, just so you can see how many different actions I use regularly.
Already you can see how helpful this new software can be. Now let me show you how to make all the steps we just did into an action. This will enable you to edit huge amounts of images very quickly.
I am going to go back to my original image here, delete all additional layers and start over, or close image and reopen it, whatever ya want.
Action Tutorial
Grab your action palette and add a new action by clicking the new layer icon at the bottom of the palette.

Name it something that works for you and we should be good to go.

Now, everything you do from this point on is going to be recorded. Click the circle on the Actions palette so that it turns red.
Duplicate your background layer and convert it to a smart object.

Run Silver Efex Pro 2, but make sure that you run it from the pull down menu, no quick buttons from the Nik Software palette- this won’t work in an action!


Now keep in mind its best to have a preset that works on the majority of your images. After I am done batch editing I usually have to go back in and manually edit a few that look off. But before making the action I will test the preset I am creating out on a few different images, maybe a really bright image, a dark one, and one with varied contrast. This way I can get as many images right first time around and not have to tweak them too much. Just a little pointer for when you use this technique on your own images.
Again, right click and change the blend mode to Luminosity.


Then go to file > save as > and save your image as a PSD into a folder. I suggest you make a folder that is followed by _HR to stand for “high resolution”, as in the end we are going to have two saved copies of your image, and it is usually easiest to have them in different labeled folders.

Now we aren’t done quite yet. Next go to File > Automate > Fit Image > and change the pixel dimensions to a desired amount. We are resizing this image for the web I usually go with 1200 x 1200. This means that whatever side is longest, whether it be the length or the width- will be 1200px long, and the remaining side will adjust to maintain the ratio.


After the resize I usually run a slight sharpen to crisp things up a tad.


After everything is done, while you are still recording close your image. This is really important, if you don’t close it, you will have all your images staying open after you are done with them and your computer is going to start running really slow. You can now press the stop square at the bottom of the actions palette.
Alright, this is what your action should look like.
After all this is done you are now ready to run your action. Gather all the images you want to run the action on and put them into one folder.
If you already have them all in a folder just go to File > Automate> Batch

Or if you have them picked out in Bridge you can run Photoshop’s batch option while selecting them and it will give you an option just edit the selected images.


Fill it out so that it matches my screen shot here. It’s important you check these boxes especially when working with raw images, otherwise you will have to click okay for each image as they open up.

Press okay and if you did everything right, it should work perfectly. If your image looks good, grab the low res version and post it online. If it needs some work, open up the PSD file and go to town with some editing on it.
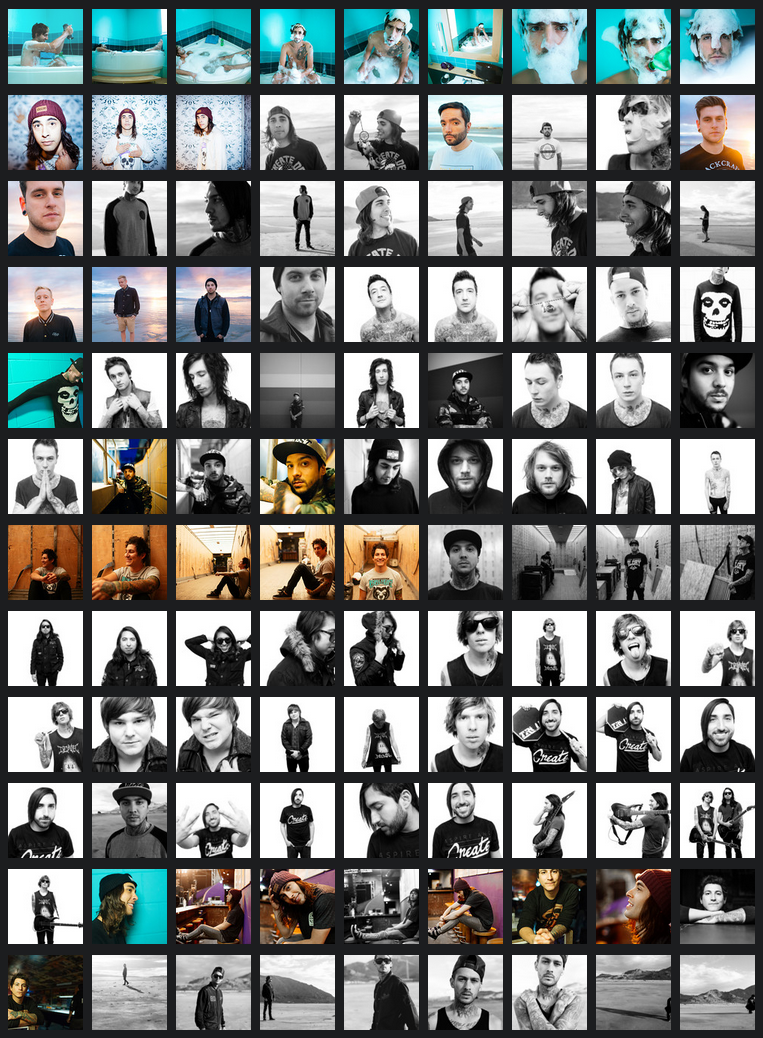
I used this action to edit every single image in my last tour blog. Time seems to go so fast these days and this software made it possible for me to edit the amount of images I wanted to for the blog.