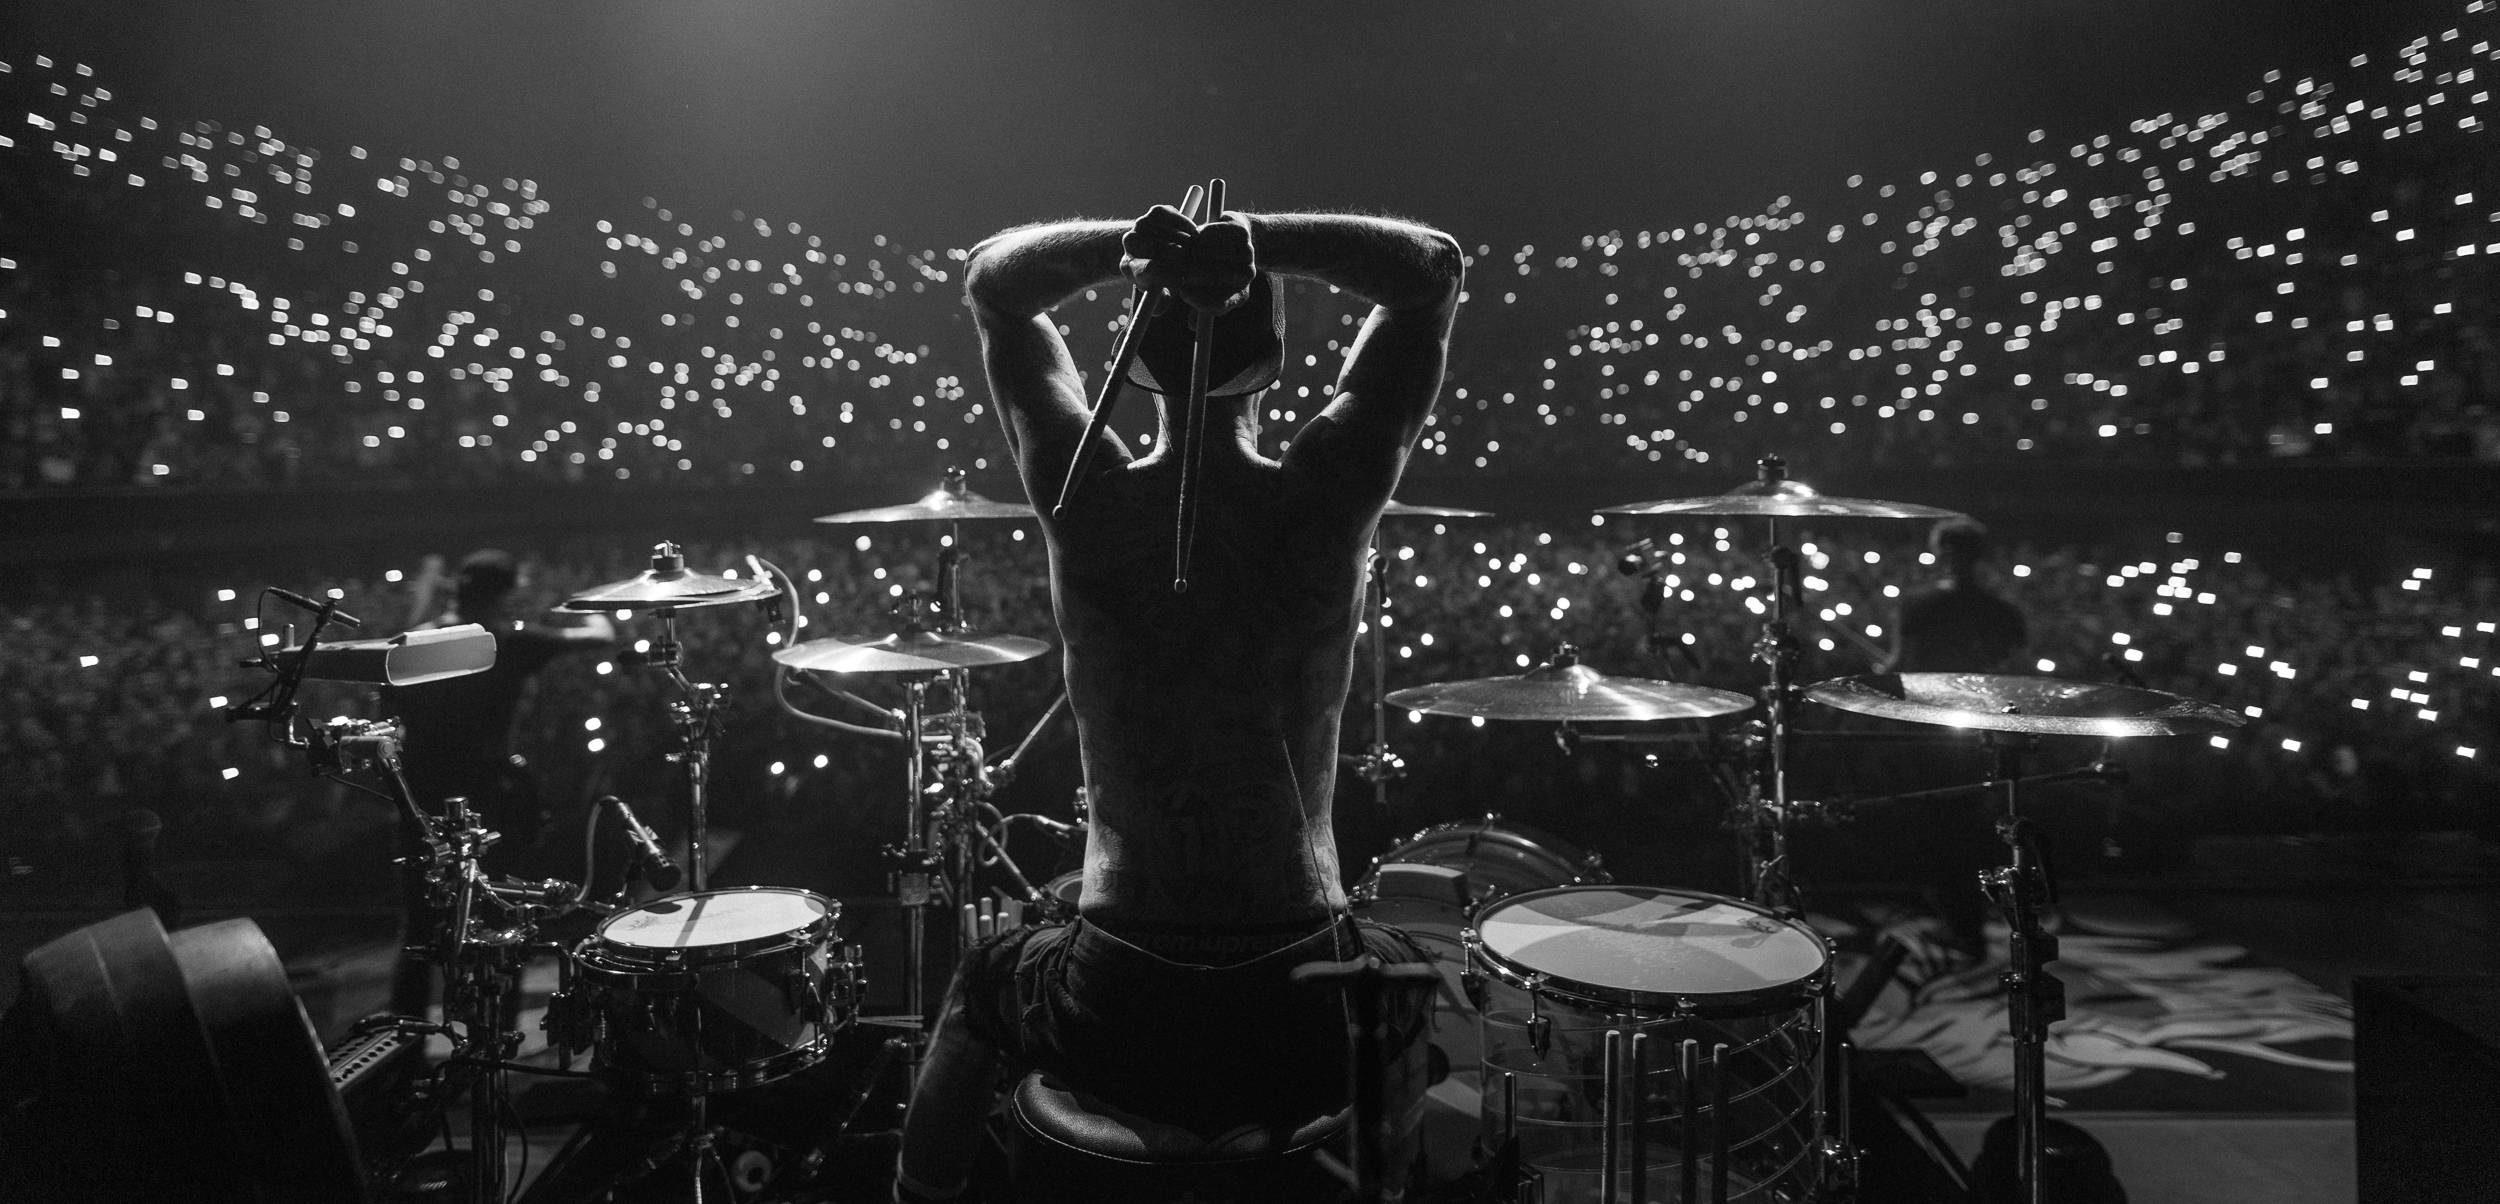
So you are getting ready to photograph your first concert? That is awesome. Chances are it’s a less than perfect venue for concert photography – that is usually how it works out. It’s kind of like getting your first car. You don’t start out with a Jaguar. You get a baby blue minivan whose doors don’t shut in the winter…
This venue is… crappy. I am working on my vocabulary so school websites don’t block me. I am not saying this to insult the venue or degrade the level of a concert that they provide. I am purely talking from a photographer’s point of view. Sure it can be changed depending on the lighting package the band is touring with. But generally speaking, the amount of space allotted on this venue’s stage area for a concert isn’t enough to pack a full production set. SOMA San Diego is actually one of my favorite venues to go to a concert because of how crappy it is. It’s a blast, good vibes, exciting people, it’s like someone knocked all the walls down in a movie theater and added a stage… that is actually what it is.
So what makes a venue… a *bad* venue?
Concert Lighting
I am not referring to lighting as just the lack of illumination, but the type/color of it. Most of the not so greats will have blue and red bulbs that make your photos look like you are looking at some street lights and squinting until the color floods your pupil and you can’t make out what was right in front of you. It’s quite frustrating.
Low Ceilings
This doesn’t affect your photos so directly most of the time. But a low ceiling restricts just how much a band can put on a stage. If you go to a venue that is smaller than the rest of the venues on the tour, you will most likely get a dumbed-down version of the normal concert experience.
Lack of Photo Pit at Concerts
Okay, SOMA has a photo pit, but most small scale venues won’t- which can make photographing a band very difficult- especially if you don’t want to risk breaking your camera. I stopped caring because 9/10 the camera wins. The other 1/10 however usually involves something hard-hitting your glass which never ends well. Watch out for crowd surfers.
Dense Haze
So almost all venues use haze. I have been to one city (or was it a state) that did not allow it but other than that- HAZE! It’s usually 2 or 3 smoke machines pumping fog out from the sides of the stage. They will run for hours before the show so the whole venue has a slight fog to it (also known as a haze). This allows you to see lights/ lasers- cause without any particles in the air for them to hit, you would only see their origin and destination. However some smaller venues have no choice but to put these units on stage, or they have bad air circulation so the haze is very uneven when the machines pump out a lot of it.
Humidity
Well, if it’s cold outside and warm inside… foggy glass and sweaty metal. This a prevalent issue in most venues regardless of size. But the degree of humidity increases greatly in a small poorly ventilated room packed with people.
Concert Security
Security can be a little… more informal at smaller venues. They almost always look like retired bike gangs, and in some situations, they are actual bike gangs. Seriously, check out Rock City in Nottingham, UK. But honestly, I try to avoid confrontation at all costs.
A Few Personal Experiences…
When I started shooting I was a lot younger, and I have always looked young for my age. I didn’t stand… very tall. People pushed me around, I guess you could say. However, on one occasion I had the promoter at a venue spit on me and tell me I was selling my photos or something. It’s a bit blurry, as soon as he yelled at me I went into panic mode. I remember driving home crying that night cause I was so scared. It was an hour drive each way to the venue, which for me at the time meant 120 minutes of anxiety-ridden concentration. That was a rough night. I have been shoved, pushed, yelled at, laughed at, and pretty much anything you could think of short of a fistfight- has happened to me at a concert.
I was in Switzerland once and a guy told me I couldn’t be somewhere in another language a few times (so at first I didn’t realize or know he was talking to me) eventually in broken English accompanied by some abrasive hand gestures, he told me I had to leave. Eventually, I just ended up running away cause he was so angry. A lot of this stuff happens because I always have artists’ AAA passes and shoot in photo pits at smaller stages with it when I’m supposed to have a photo pass… My fault on this one.
Now that we have identified all of the problems that could possibly come up at a venue, let’s start to solve these bad boys.
Goal for the night: make 7-10 “good” images of each band, approx. 2-3 of each member
Solutions! We are making solutions. It would be one thing to address all the bad venue problems and then say, “Oh well I am going home this is pointless” But that would be no fun at all, let’s take it as… a challenge! A fun challenge.
Gear
Before we go any further I must say, no excuses – a popular one people keep giving me is that the gear they own is the reason they cannot move forward in photography. It’s a bad habit to fall into, and it will eat you alive. Your gear is a tool, it’s how you use it that is important. Don’t worry about what you have, and the last thing you ever want to say is “I could do that if I had *gear you don’t have*”. It’s bull, you can do it.
I used my Canon 5D Mark 3 with a 50mm 1.4 lens. This was as close as I could get to a 50mm 1.8 cause I broke three of them and just stopped buying them after that. I know my gear still costs… $3500? dollars. However, your DSLR should work. Yea if you have an iPhone then this might not work very well for you. The reason music photography is so expensive is that low light capabilities make cameras worth much more than you wish they would. Same with lenses! Venues are dark, lights are ugly, but hopefully, you can make your tools work for you. If you ever have any questions on what camera to get I suggest using DPreview.com – it’s amazing.
I suggest using any DSLR you can get your hand on and the cheapest 50mm 1.8 you can find. I find the fewer variables the better when learning a new skill set. No zooming or lens swaps all night? More time for shooting!
If you don’t already know what your camera’s aperture, shutter speed and ISO are. I suggest doing that now. Also, shoot in manual from now on. Get the hang of it, struggle with it, this is how we learn.
Concert Lighting
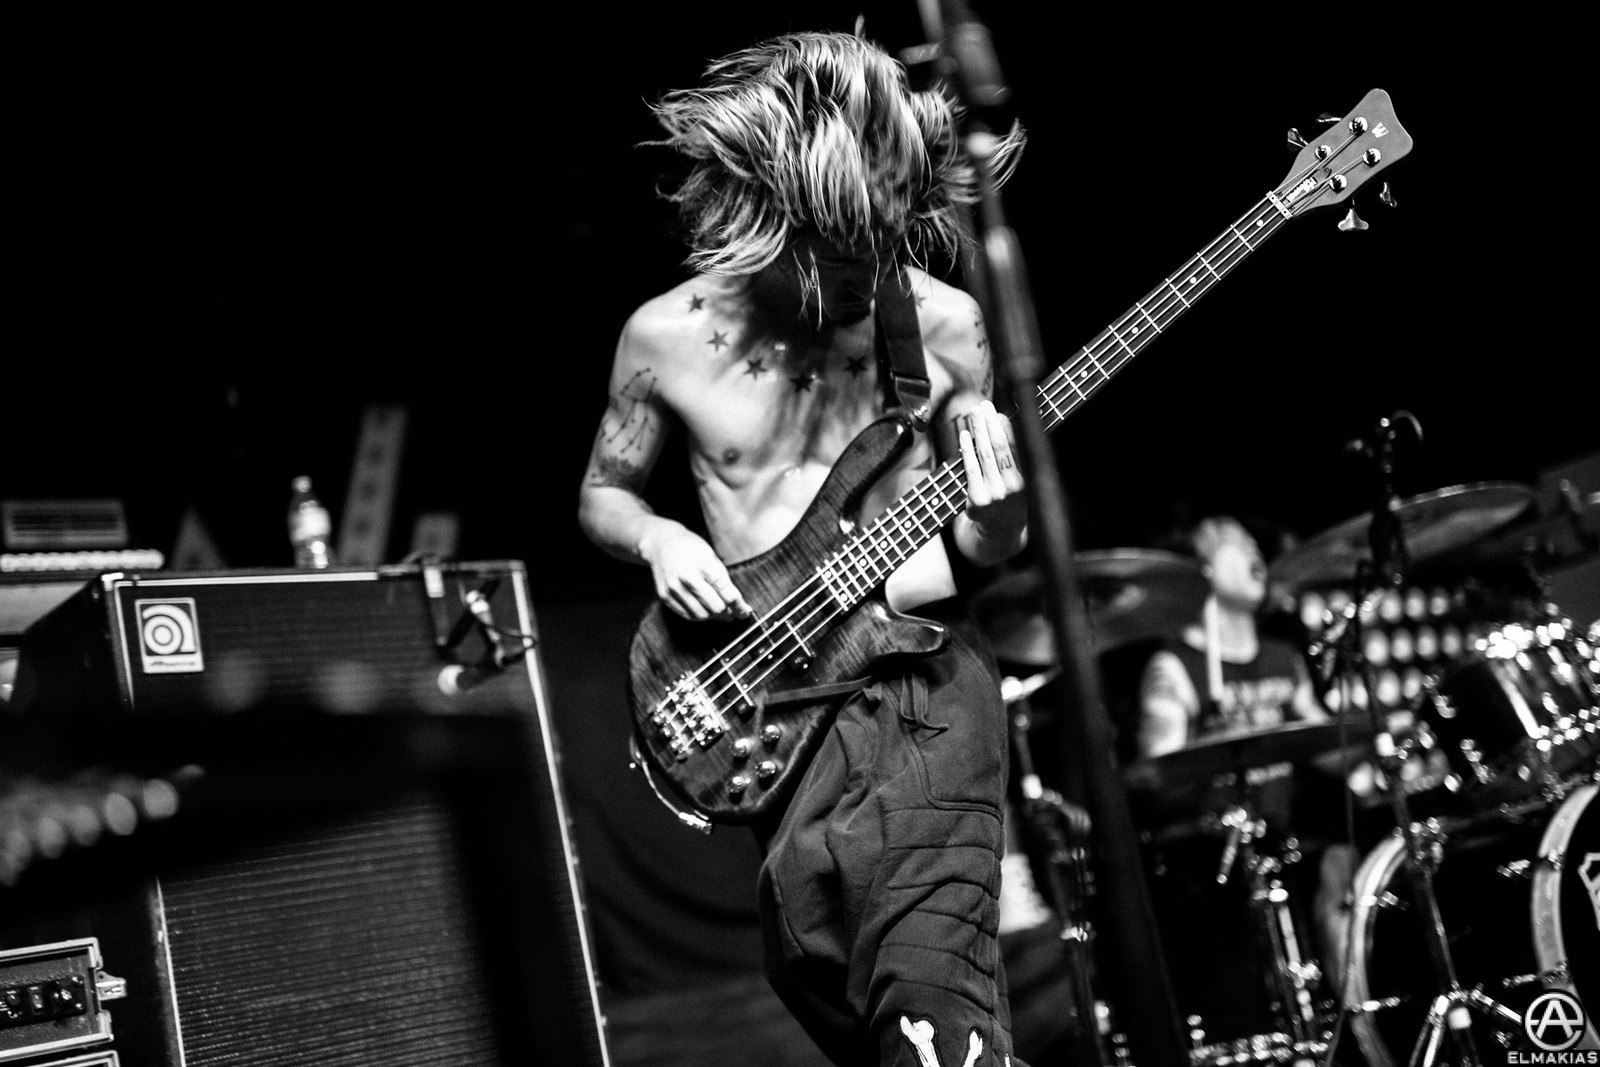
Terrible lighting is going to happen. A lot. I actually prefer some small show’s lighting. As you will see in my photos of the first two bands who had very limited light- my images are a bit more… artsy, and personal. I try to not decide what kind of image I am going for beforehand. Instead, take whatever you are given and roll with it. You will kind of get a feel for what kind of images’ different types of lighting help you create. Most lighting guys work in some kind of pattern too, so try to vibe their routine and get your shutter going at that crucial moment when everything lines up just right. It’s difficult, but when it works out- it’s exhilarating. Your best friend is converting your image to black and white. It’s okay to have B/W image- be careful, it’s quite addicting. It solves so many color problems though! Give it a go
Low Shutter Speed
With bad lighting comes very dark images. Let’s bring it down to some camera basics here. If it’s a dark room- the first thing you do is adjust your aperture to the widest it can get. So the lowest number. Maybe it’s 1.8, maybe 2.8- the lower the number the better. Next, check your shutter speed, I would say put it around 1/160th, for now. From there, start with your ISO at 200- just keep raising it until the image is exposed probably. If your ISO get too high and creates too much noise, you will need to reduce it. If your image is still dark you need to make your shutter a little bit longer. Remember we put it on 1/160th, so start to bring it down from there. I am generally pretty comfortable bringing it down to 1/60. Keep in mind once it gets this slow, you have to stay very still- and expect some motion blur from your subjects if they are moving quickly on stage! Sometimes even if there is ample lighting I will drop to a slower shutter speed just to capture movement. It makes a photo of a headbang less of a *weird face freeze frame* and more of the capture of action or movement. It also gives life to a guitar strum. The possibilities are endless.


Low Ceilings
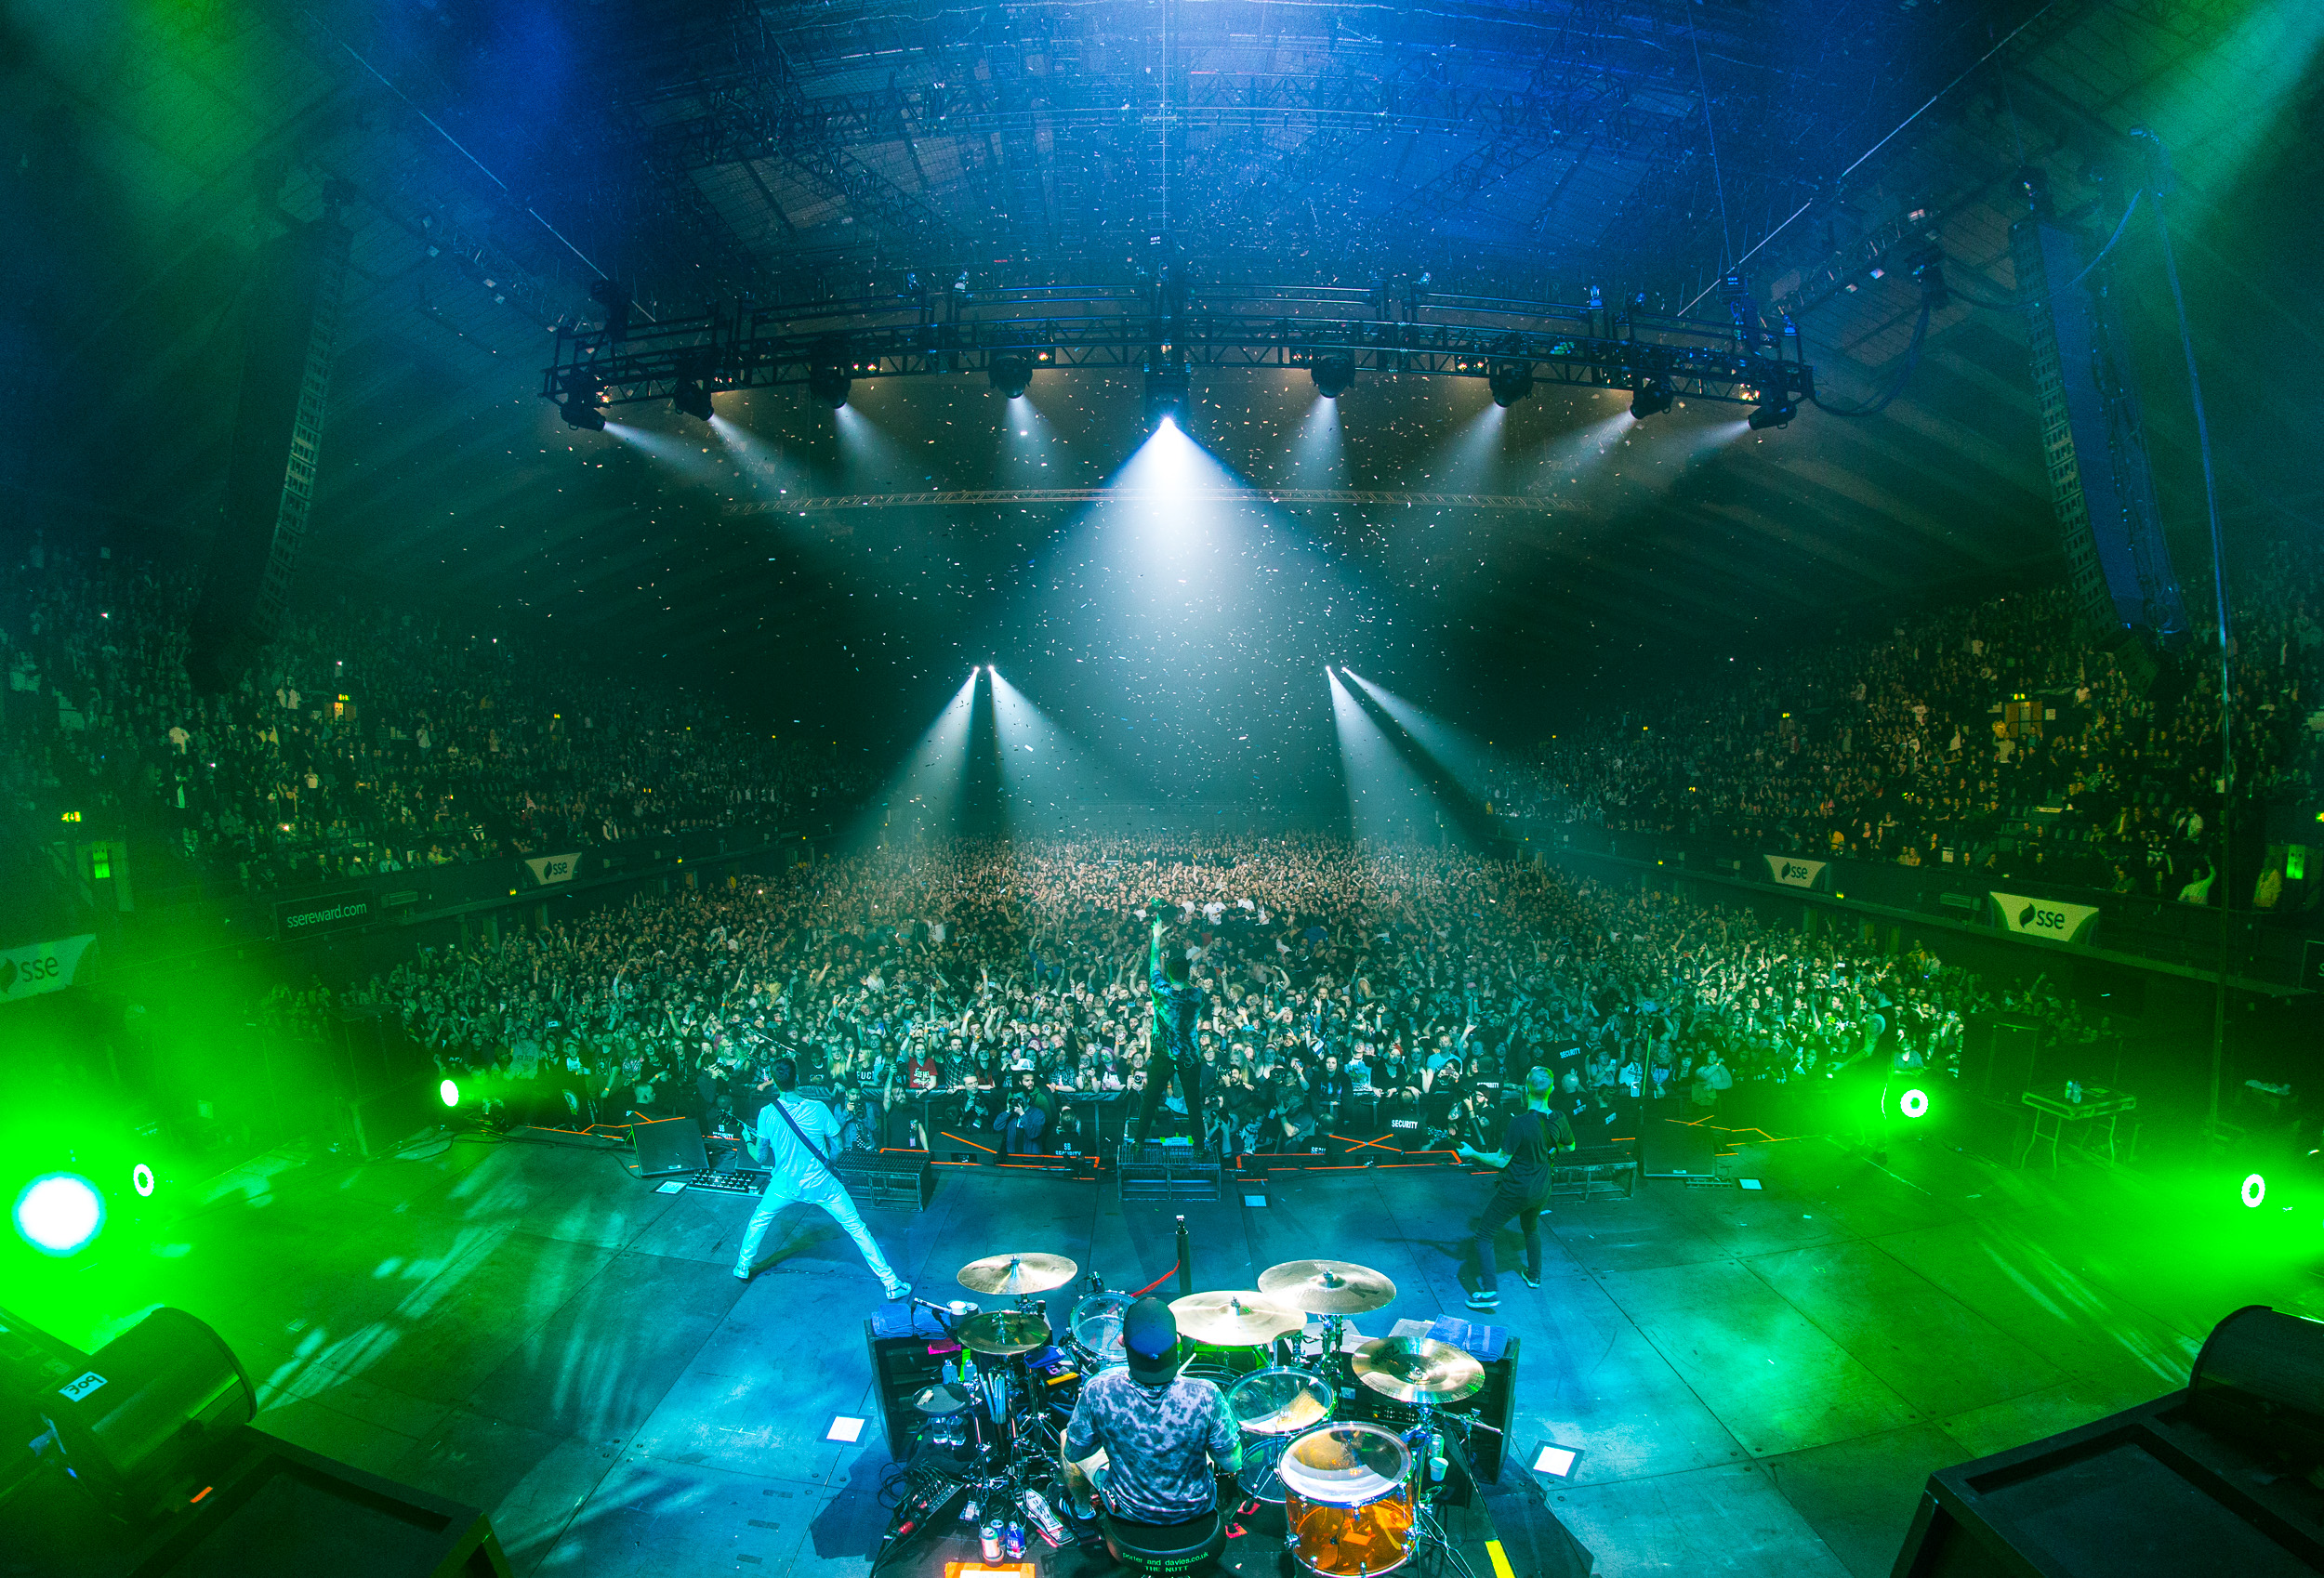
With low ceilings or smaller than normal venues comes an ugly stage. That is okay, you just have to get creative. Shoot other things- shoes, mics, cables, pedalboards, the crowd- anything that isn’t the artist! Usually, bands want to look as big as possible so images of themselves with not a lot of production in the back aren’t usually looked after. When artists want me to come to shoot them- it’s usually in LA, Chicago, or NYC – and this is to get the largest and best-looking venues in the majority of their photos. Basically figure out the best part of the current show they are putting on and document it. You want to show their best side always.

Lack of Photo Pit at Concerts
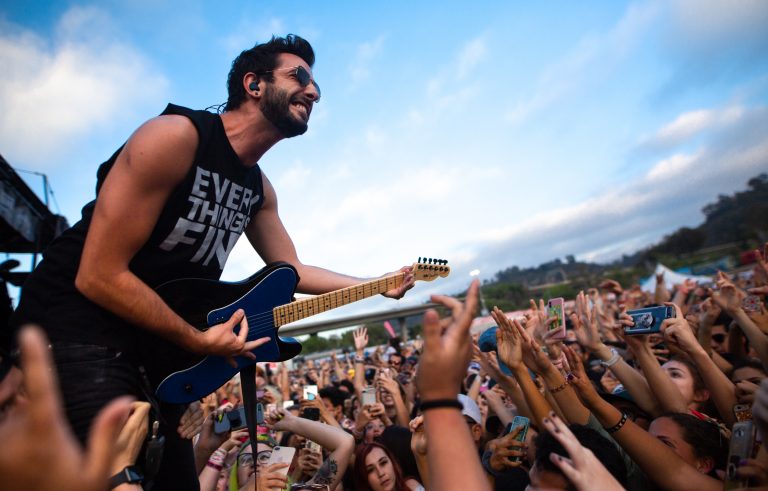
Push your way through the crowd. Get sweaty, go for it. I used to spend hours at a show camped out on a ledge in the corner, or on an amp side stage. The hardest part is not breaking your gear, but you just have to be protective. I dumb the gear down to a single lens/camera and this is when my Holdfast Camera Leash really comes in handy. I don’t want to lose my camera, even if it’s broken. I do feel it’s worth saying that you don’t truly start using your camera until you come to terms with the fact that it’s a tool, it coul break, and it would break- but every day you must find the best way to use it before it breaks. I personally love shooting from the crowd, getting images with hands at the bottom of the frame is one of my favorite things. And you get some “cool kid” points for being badass enough to dodge the mosh pit folk in order to get your photo.


Dense Haze
So like I said earlier- some venues have too much haze, and it is too thick to shoot through! Here are some ways to get around it. Wait for it to settle, do not use your flash, and then wait for the light to come from behind the subject and smoke. If your subject is in smoke and blinded by the light, you probably won’t be able to see them. This one kind of works.

If you wait for the right moment, it should settle, and you can snag some images like this. It’ll be different for every show, the key is to be ready for whatever it throws at you and then go with it.

Humidity
Make sure you get to the venue at least 30 minutes early, put your camera bag inside and start to warm that bad boy up. You gotta let your lenses fog out and be careful with your camera. You have to let it acclimate. Sometimes a fogged-up lens is a neat artsy effect… but only do it as a last resort.
Concert Security
When you get to the photo pit, or anywhere. Just be nice, not too nice, but shake everyone’s hands, look them in the eyes. You must treat security as a bear. It’s mean, it’s big, but somewhere inside the bear is its love and respect for other bears and bear cubs. The bear cubs are all the fans, don’t get in the way of a bear and their cubs, you are another bear. Security has to trust you, but you have to prove you are worthy. So make it happen. Have all your conversations and figure out anything you are confused about BEFORE the set starts, not during. They are there to help… usually.
Of course, these are all just guidelines, yea sometimes all these things can be awesome. Like for this shoot with Neck Deep! The lighting was so crappy and the venue was wild- but with one flash and some longer exposures, I got some shots that I personally love.


You can watch me shoot the first three songs for ONE OK ROCK, Neck Deep, Sleeping With Sirens and All Time Low at SOMA in San Diego below. I have also provided you with my images. Best of luck shooting! Have some fun.
ONE OK ROCK


Neck Deep


Sleeping With Sirens


All Time Low


